Showing posts with label DOF=Depth of Field. Show all posts

Thursday, December 31, 2015

Happy New Year 2016!


 Happy New Year 2016

3D Conceptual Designer studios will be closed until Monday January 4th. 
Have a fine and Festive Evening all!

A few TAG's for your viewing.

With a new Star Wars out, here is some Artwork I've done in the past for this grand property:
http://3dconceptualdesigner.blogspot.com/search?q=star+wars

I did a lot more 3D printing work this year, growing segment of the business.
http://3dconceptualdesigner.blogspot.com/search/label/3D%20Printing


I did over 1000 3D logos this year alone, for a variety of projects.
http://3dconceptualdesigner.blogspot.com/search/label/3D%20Logos

Some style frames I've done:
http://3dconceptualdesigner.blogspot.com/search/label/Style%20Frames

I added more to the Steampunk TAG:
http://3dconceptualdesigner.blogspot.com/search/label/Steampunk

                                       Cheers, Thom Schillinger[ 3D Conceptual Designer]

Monday, March 23, 2015

Project Review: The City of Ember-Motion Graphics Tunnel Build for internal Cards-PART II

 A 24 frame MGFX[ Motion-Graphics] 3D Animated Card, Built for the TV spots for The City of Ember back in 2008, this is early in the little 3D move.

The same frame rendered out as a wireframe to show the simplicity of this build.

Frame 9 we are almost around the corner already in this 3D rendered frame.

 The Ambient Occlusion render of that frame with wireframe OL.

 As we peek around the corner we see the Date Card. The DOF[ Depth of Field ] keeps the eye out front.

The wireframe rendering done in 3DS Max 2009 back in 2008.

We have slid around the corner and are approaching center in the last leg of this 3D Camera move.

The Wire frame render of this simple 3D build.

We face the card and slowly approach.


 Ambient Wire frame render ot frame 21.

The final seated 3D Date Card done for the TV spots for City of Ember.

 The Wire frame overlay render of the seated end frame of this 3D Animation.

 A Birds-eye over view of the tunnel build with the roof cut away in 3D to showcase the small Virtual Set I designed and rendered for the pitch.


Project Review
The City of Ember

Motion Graphics Tunnel Build for internal Cards
PART II

Client: Walden Media via The Cimarron Group.
Art Director: Myself and Tom Kositchotitana
Project Date: Spring 2008.

For the AV [ audio visual] trailer campaign for the film The City of Ember, I was asked to create a generic tunnel similar to a screen shot we had for the film, so off I went to work.

This client was one that usually went simple 2D white on black so we did have our own expectations very high that they would go for a more artful direction, but we were asked to explore anyways.

I had locked in a look for a glowing filament type of neon look for the titles that can be reviewed in Part I here. and they wanted a second internal card set for the TV ads that would match the red metal tunnels found in a few scenes of the film.

I experimented with procedural textures, Depth of Filed with the camera move, and used the Cebas  dirt shader for Final Render to achieve the end result.

A fun project that was about a two day gig.

You can review the main Title 3D Neon/Glowing Filament Look I developed here.

Cheers, THOM

Thursday, January 22, 2015

Project Review: S.W.A.T. The Movie 2003 PART IV Night-Vision Binocular Model for MGFX Teaser Trailer

My deliver was a OBJ export to the 3D Animation Dept and this was the final 3D Model I designed and made. 

A render with DOF[ Depth-of--Field] as seen in the Teaser.

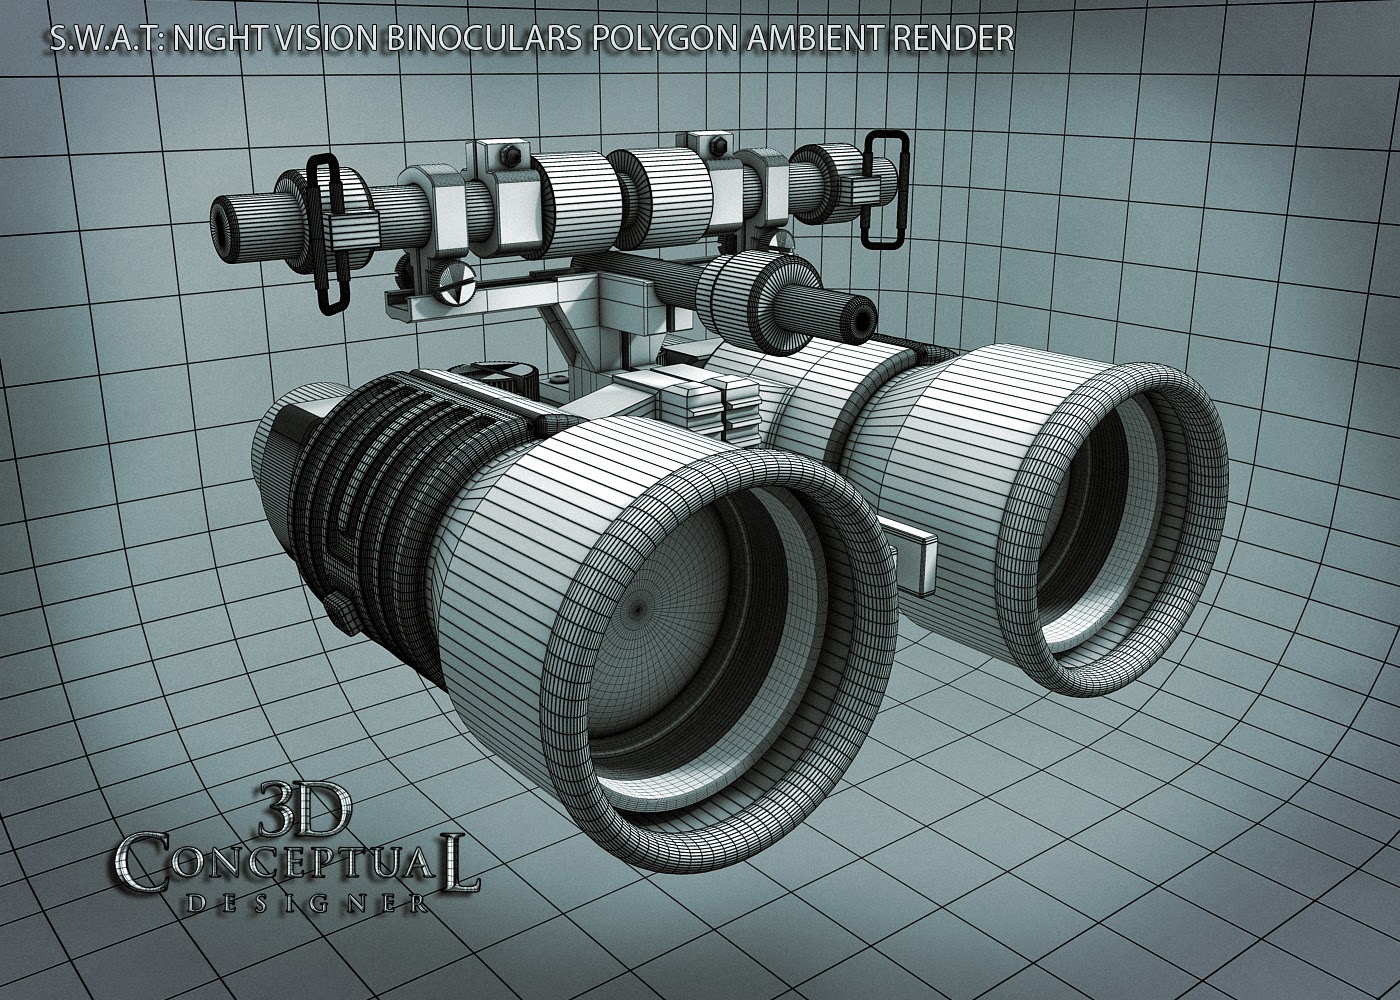
 A Birds-eye overhead front shot of the 3D Night Vision Goggles in Ambient with wires.

 The fully textured and rendered  S.W.A.T. Night Vision Goggles.

 I built this Pre-Sub-D, so some funky geometry on those thumb screws.
I'd go full Quads today in a build.


The 3D file still renders out fine.
 
 A Side view, with the hand grip as the only full Sub-D asset in the build. They are actually a cut down version of the front grip from the M4 Carbide model here.

A Side View 3D Render fully textured with DOF and ready as a style frame.
 
 The 3/4 rear view shows the lens inside the tubes with the appropriate glass, O-ring,and lens retention threads.

 The rendered back shot of the SWAT Night Vision Goggles , also used for the Home Alone work latter on here.

Exploded View shows the build.

 A second render of the prop as an exploded view of the 3D Night Vision Binoculars I made for the Teaser Trailer for the film S.W.A.T. back in 2003.

Project Review
S.W.A.T. The Movie 2003

PART IV

Night-Vision Binocular Model for MGFX Teaser Trailer


Client: Columbia Pictures Inc. via BLT and Associates.
Art Directors: Myself.
Project Date: Winter 2003.

It this, my fourth posting for the work I did for the TV to film adaptation of S.W.A.T., from almost a decade back now, today I am covering the Night Vision Binoculars I designed and made for the Theatrical Teaser Trailer back in 2003 for Matt Hartle the head of 3D-Animation.

I regularly built 3D Illustrations for the Print work at BLT, but I also did quite a bit of work for the MGFX[ Motion-Graphics] team for the AV Trailers as well, and for the new at the time film, S.W.A.T., I was asked by Matt in the 3D Animation dept., to make some very high resolution models for the back plates for the internal and the Title Card graphics.
 
I have more posts on S.W.A.T., both for Print and AV 3D Models I made that I will try and post up in the future, so keep an eye out.

You can View the logos in PART I here.
You can view the M4 Carbine I built here for PART II
You can view PART III, the SWAT van here.

Cheers, THOM

Tuesday, November 25, 2014

Project Review: Below PART III-Submarine Interior Hallway Build for DVD packaging-2001.

The final Image rendered and used in the Key Art packaging for the DVD release of the horror film Below back in 2002. This was my first GI[ global-Illumination ] finished image.
 
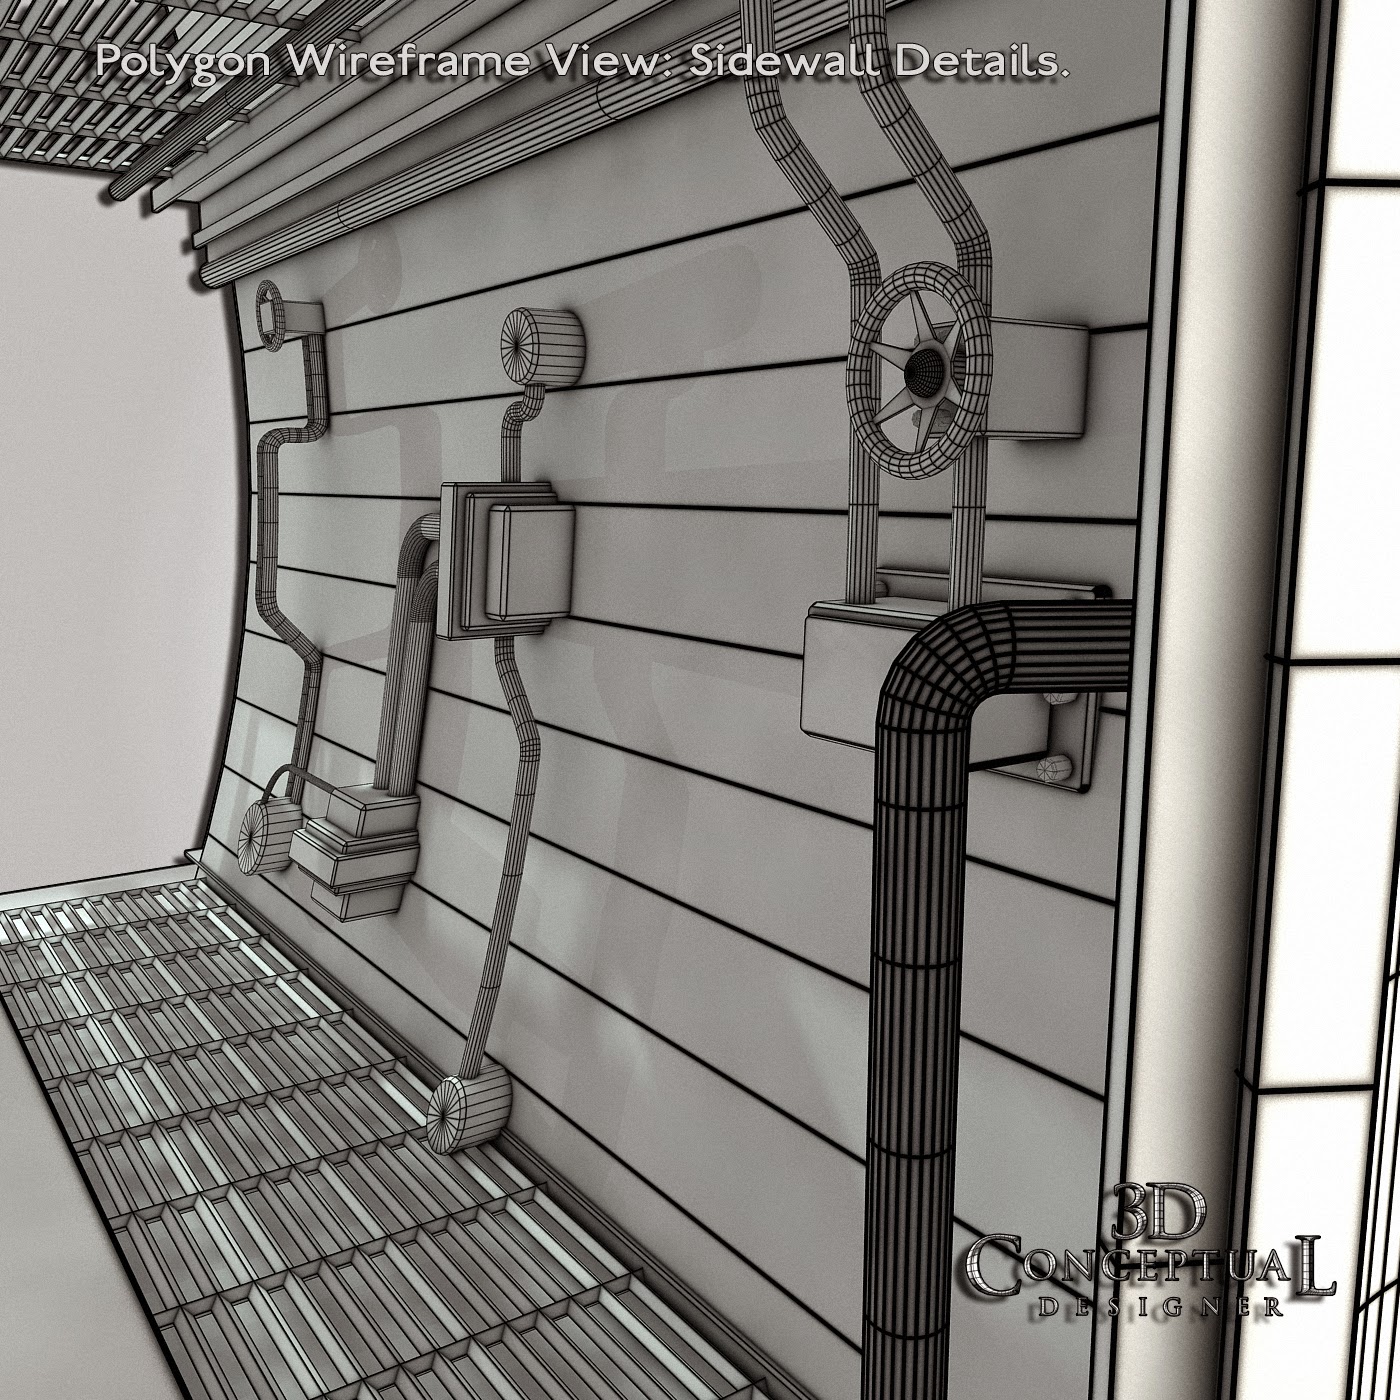
 A Polygon render shows the simple build out done for speed as there are no subdivision parts in this build.
 
 I almost always will provide a Z-Depth mask to the Art Director so they can control the distance based edits in post with a 3D mask.
 
I did do one alt which was a close up shot with a much shorter lens so the hallway was deemed too short in this shot.
 
The close up on the end of the hallway door in polygon view showing my build details. All built from scratch as usual.
 
 The Z-Depth fir this alt shot as well was done @ rendertime.

 The door itself in detail.

 The hallway was rather short and the long feeling was achieved via the camera used [15mm].
 

A view inside the hall on the left side wall. I curved the walls to add dynamics to the lighting, as a curve is a much better surface to get light movement on than a flat one.


Project Review: Below
PART III
Interior Hallway Build for DVD packaging of the Baldo Class Submarine Model


Client: Dimension Films via BLT and Associates.
Art Director: Alon Amir
Project Date: December 2001


This is my third post here covering the 3D illustration work that I did that was used in the final Key Art for the film Below, back in 2001, over a decade back now, and today I am going in depth on a piece that was done for the DVD packaging after the Theatrical release was in the bag.

This was an extension of one of my first 3D Illustrations I did for BLT back in 2001 of a subway door, and I basically built out a full hallway and experimented with the then brand new Global Illumination[GI] engine from Final Render on this three wall set, and this became my first GI finish image.

I rendered out the final and we photographed an AE executive for the final package as seen here.

You can view PART I from a few years back here.
You can view PART II here as well which is an in depth review on this WW2 Baldo Class Submarine

Cheers, THOM

Wednesday, November 19, 2014

Personal Project: Electron Microscopic 3D Look Development-Ebola Virus 2014

 A final Frame with the Post-FX work done in Photoshop to develop a style frame.

I rendered the shot at various depth of field setting by adjusting the camera target for the area I wanted 'In focus". 

 An alternate has the target closer to camera so the right side 3D render of the Ebola viruys is more in focus.

Animating the DOF[ Depth-of-Filed] is a great simple focusing look for a moving image in this look.

A Black and white version. 

The final image in High rez showing the 3D build out of the virus. 

Here you can review the stages of the build out from the simple background low poly version to the fully displaced ultra high resolution 'hero' image. 

A Low angle favoring the Highest Poly count 3D asset of the Ebola Virus. 

A birds eye shot showing the base poly build[ very simple]
Personal Project
Electron Microscopic 3D Look Development
Ebola Virus 2014

Client: NA.
Art Director: Thom Schillinger.
Project Date: October 2014.

I had a bit of downtime a few weeks back and with all the horrific news about Ebola, I was looking to fine tune my Microscopic rendering techniques in 3D, as I was foreseeing some clients needing 3D images and animations with full rights to them, so I began to build a scene from scratch.

I have done quite a few Electron Microscopic looks for various projects, including Breaking Bad menus for blue Ray, Aeon Flux titles, and development here. It had been afew years since I was tasked with this type of look, so to stay 'frosty', I picked this as a subject matter to hone.

After doing a bit of research I found images of the virus that seem to appear the most, so I built an actual 3D version of the virus in multiple levels so it would be good for animations as well as super close up work, and I built in all quad subdivision.

I experimented with Final Renders Depth of Field a lot to get various blur effects and different depths within the field of view from the 3D camera. A Fun exercise that got me back up to speed on this look.

Cheers, THOM

Monday, August 12, 2013

Project Review: Breaking Bad 2008-Blue Ray Menu 3D Microscopics

 The final design I delivered to Home Entertainment for Breaking Bad 3D Microscopic Menus.


 A Shot of the smoothed Geometry for the "meth' chemical model.


 I did a set of DOF[ Depth of Field shot tests to see what worked the best for the 3D particle animations, and this is the first test shot I did.

 
 For each shot I moved the focal point in Z depth to test to look.


 The camera target was close to the front in this test and we loose almost all background particle completely.


 Here was a midway point so foreground and background was out of focus with just the center of the scene in focus.

 Here is a shot with the focal point moved 70% back in the scene.

Project Review
Blue Ray Menu 3D Microscopics

Client: Sony Pictures Home Entertainment via The Cimarron Group.
Art Direction: Brian Larson.
Project Date: July 2008.

Five years back now, I did some 3D animations and 3D Illustrations for the Blue-ray Menus for the Cable Series Breaking Bad. I had done a good number of menu projects for the Home Entertainment Department there and had worked extensively with Brain Larson who was Art Directing the job in the past , so I was tasked with this one day job for him.

I built out the chemical model for Meth as the show deals with the subject, so I created a Medical Animation using microscopics for the look as I had done on prior projects like this here, and here.

I used the Simbiont procedurals with the Xray texture as the base for the look.

I also played with the 3D Depth of Field settings, which we could animate in 3D to get some great focal length FX on the frames as these were delivered to the Art Director for the final AE[ After Effects]comp.

A fun little gig.

Cheers, THOM