Showing posts with label Pro_Tips. Show all posts

Monday, September 20, 2010

Behind the Art: Perspective Grid Tutorial

STEP I: Here is the 8.5 x 11" Perspective grid made using Ship Curves.
[ No Straight Lines]


STEP II: This is the blocking model done on velum over the grid.
[ For basic design proportioning using Ship-Curves]

STEP III: This is the second overlay over the blocked sketch done.
[Freehand and tighter sketched with Ship-Curves]

STEP IV: This is the final Artwork done on Velum.
[Clear-print Velum,Color-erase Pencil, Indigo Blue Prismacolor and Markers]


Perspective Grid Tutorial

When I design using a traditional 2D approach via hand sketching I use a Perspective Grid as an underlay almost every time.
The reasons are simple; I want to spend my time working out a great design, not spending the time making sure it is drawn accurately in perspective. If you struggle with perspective drawing you spend most of the time adjusting and correcting the way you have drawn a design to make it more accurate to a real world perspective, so if you can minimize perspective mistakes you have freed up your time to focus on the design itself.
The second reason I use a perspective grid is I get a faster blocking of the design early on as I can sketch over a grid with velum or tracing paper taped to the grid I have made and block out an accurate volume in 3D.

I then take the blocking with a grid and do a tight design over the top using freehand and french curve techniques. A great benefit of the grid-underlay is that I can do fish-eye sketches since I can use all curved lines in the view giving it a dynamic view based on an extreme lens.

I save all my grids and have dozens I can reuse with straight lines or curved from almost every conceivable angle.

Cheers, THOM

Tuesday, August 31, 2010

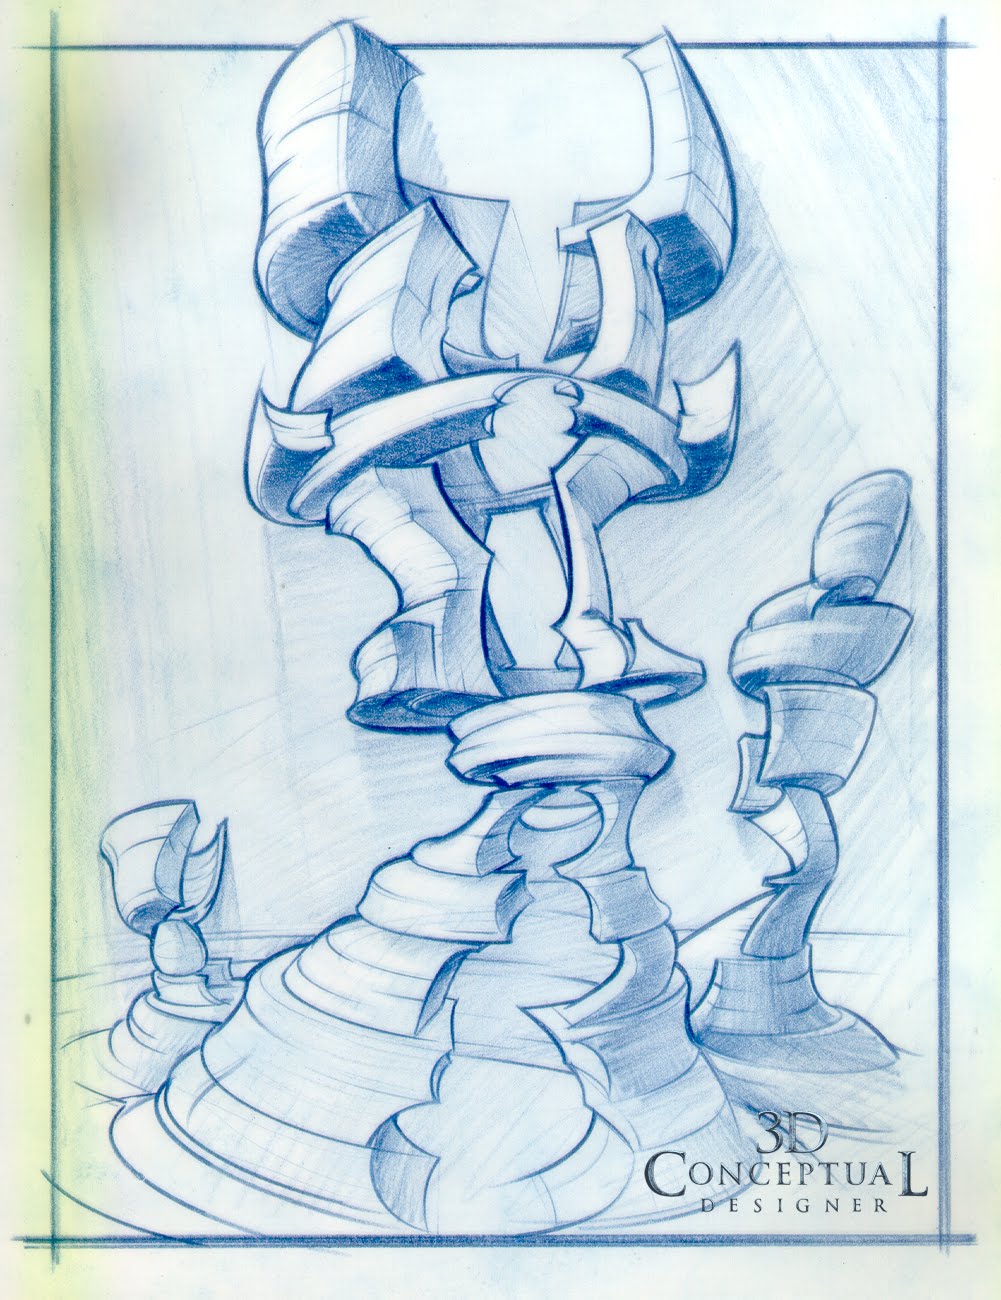
Behind the Sketch: The Four Stage Process

STEP ONE: The Freehand Rough Done on Xerox Paper

STEP TWO: Clean Up on Velum using French and Ship Curves.

Step Three: Remove all color and stage in Photoshop CS4 with light and shadow.

Stage Four: Final colorized with filters for a painted look and textures added


Behind The Sketch: The Four Step Process

I am asked if I like sketching in the computer all the time, and the fact is that I am a traditional sketch artist trained during the time at Art Center when the Students only sketched on paper. I have a process that I have used for a few years and here is a basic breakdown.

The above sketch was done for Rand Miller up in Spokane WA back in the year 2000 when I was doing Conceptual Designs for the URU extension of the MYST worlds.[ What a FUN time that was!]

Supplies:
Indigo Blue Color-erase.
Indigo Blue Prismacolor.
Indigo Blue Markers.
8.5 x 11 Plain white Xerox Paper
8.5 x 11 Clear-print Drafting Velum.
Alvin Drafting Dots.

First Step:
I do a very rough freehand sketch blocking out the shapes and the basic proportions that will be in the design. I do this with a Colorerase Indigo Blue pencil on plain Xerox white paper. I have loved the Indigo Blue sketch technique since it was taught to us at Art Center but then we used Verithin and Prizmacolor. I now use color-erase, since it will actually erase well and I tend to push so hard I break the fragile leads in the Verithin pencils, and can "put an eye out".

Second Step:
I overlay the rough sketch with Velum using drafting dots on the back so I can slide the curves over the drawing and NOT catch the tape. I do this tight version over the top using french curves and ship curves so the majority of the sketch is done with templates, another technique that I have used since I saw Syd Mead paint using curves back in his studio in the mid eighties, I applied it to drawing. I then scan the image at a very High resolution as a 4K JPG.

Third Step:
I desaturate the image in Photoshop CS4 to remove the color and I stage the image with lighter and darker layers of the sketch and I paint between them to achieve a better staging with light ans shadows accentuated. Working in black and white allows you to see the value contrast better and not be distracted by color similar to B+W Photography.

Fourth Step:
I colorize the image into a family of color of choice, and as in the above case I also added a texture to the image as well.

Cheers, THOM

Friday, November 6, 2009

Talent Comes Last!

TALENT IS LAST

As a graduate of Art Center in Pasadena California, I was privileged to be in the presence of the the most talented artists from around the world, working side by side for many years, yet as I look back at my education and the various Art Director positions I have held, I came up with a list in my head that I used to pick what is referred to as "talent".

I have had discussions with fellow Designers and Directors and all seem to match up to what I have concluded, namely that in a production environment, "Talent is Last".
__________________________________________________________________
The list is short and goes like this:

First- Work Ethic: Are you a hard worker or just doing the minimum?

Second-Do you take direction well, namely are you able to take a critique and are you teachable.

Third- How well do you work with others, specifically with a team.

Fourth- Talent.
__________________________________________________________________

If you work hard, but don't work well with others, it is of no consequence how talented you are if I have to fix your work, or wait forever to finally get it from you.

If I can't Art direct your work, you are useless to a team, especially the Art Director.

If you suffer from "Freelanceitis" where you have worked alone so long that you are difficult to fit into existing production models[ read: flawed], you become a liability to the production budget and schedule and all the talent in the world will not fix that.

If you do great work and take my direction, but every time I turn around you are on eBay, you become a deficit to the production and myself and others end up picking up after you.

This isn't professional sports where you see the "Talent" run rampant with lack of work ethic, unwilling to work with others , and a lack of teach ability.

If you lack the talent or skills that others around you have, keep working hard and remain teachable, and soon you will find that your ability is growing, and in many cases you will pass the naturally talented obnoxious slackers that we all know.

If you currently employ a "prima donna", and your budgets are destroyed , look no further as to the fixing and work arounds that everybody is forced to do around that person, and in this economy that is just Bad Business.

Cheers, THOM

Wednesday, November 4, 2009

Who is your Advocate at Work?


A great Line Producer once told me "The Fish Stinks from the Head Down", which has shown itself to be a great truth in the business world, especially the way we as artists get treated or should I say, mistreated. This reminds me of how important it is to have an advocate as close to the head of a company as possible.

Having reconnected to a few of my prior employers these last few months, I realize who really "got" what I do as a 3D Conceptual Designer, and who was my advocate helping me do what I do best. Those that have been great advocates of what I do are the best thing to being successful for both parties, and those who both do not understand 3D, and don't back you up are the worst for all involved.

Having friends in high places is something everyone wants in business, yet as artists who tend for the most part to be worker bees, they need this advocate more then some know. Someone with a say in the way things are run[ empowered]and having power is the class of person that must be your advocate. You want to go as high as you can in the structure to get as close to the true "head" of a company. Sometimes it is the owner, and sometimes it is a Producer or Creative Director, but no matter who it is they must be someone who can argue on your behalf.

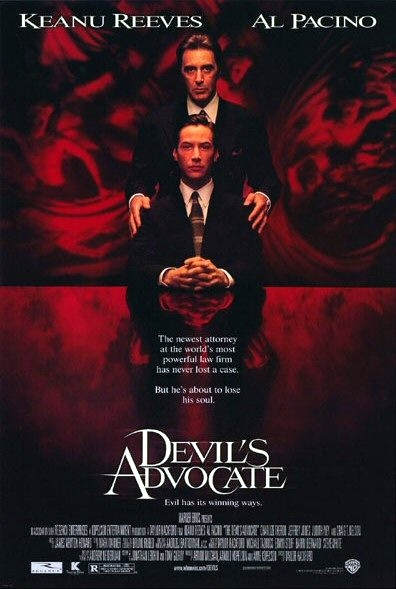
And a word of caution: If your advocate is a devil, their bad reputation will get passed along with you, so pick carefully. Whomever you do pick, make sure to thank them for backing you up, and let them know what they really are doing for you.

Cheers, THOM

P.S. A great film if you have not seen it yet.

Tuesday, November 3, 2009

You need a PIT CREW!


FLYING SOLO


Too many 3D artists take for granted the need for good "tech" support. In fact many companies do not see how essential they are to us as 3D designers, and Animators. 3D software will bend and break your hardware like no 2D program even comes close to stretching the limits on. 3D is on the cutting edge and the software that you use must run good to get the most out of it.

I have long used the Race Car Driver analogy, as we 3D Artists are the drivers, and without good support from a team, we cannot win our races. A good PIT CREW is essential. Funny how many companies lower the importance of I.T. Services, since there is no glamor to the job, as most of it is not seen when things are good, but ALWAYS visible when something does not work. It is a tough job to do with little or no glory as we artists get "bathed in" on a daily basis showing off what we do to others on a regular basis.

If you have a good Pit crew with IT support, make sure you THANK THEM! They make you drive faster and win your races. It is one thing when the owner does not see this, but very different if you the 3D artist takes them for granted. Once you loose a good crew, you definately feel the pain, and you need to be their biggest advocate!


Cheers, THOM